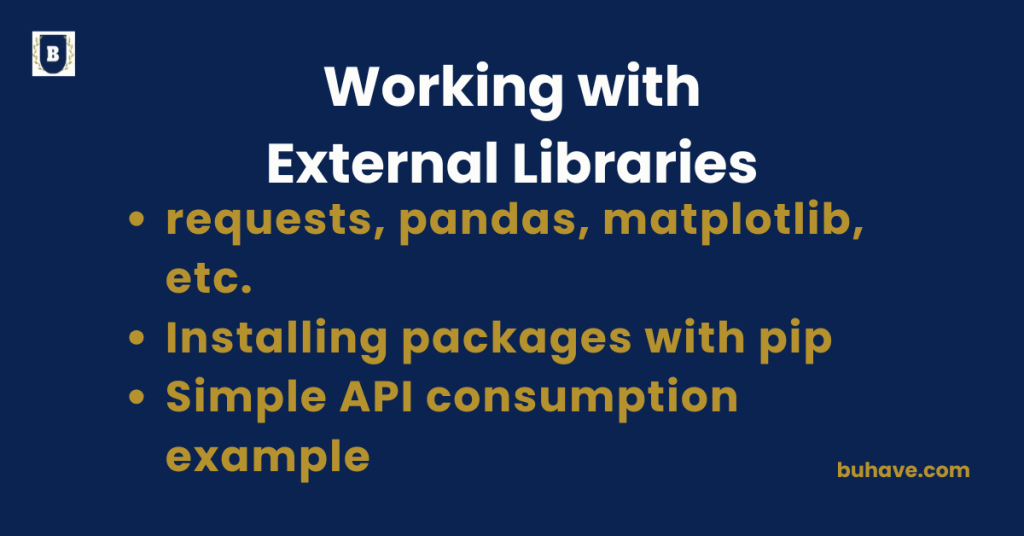
Requests, Pandas, Matplotlib, etc.
Popular Python Libraries – Detailed Overview
Python has a rich ecosystem of libraries that simplify everything from web requests to data manipulation and visualization. Here’s a breakdown of some of the most widely used libraries: requests, pandas, matplotlib, and more. As Python continues to evolve with major releases, these libraries remain essential for data handling, web requests, and visualization. If you’re new to Python, you may want to start with the foundational courses, for example Introduction to Python or Modules and Packages to build a solid base.
1. Requests – HTTP for Humans
The requests library is a simple, elegant way to send HTTP/1.1 requests using Python. It abstracts away complex details of making requests and handling responses.
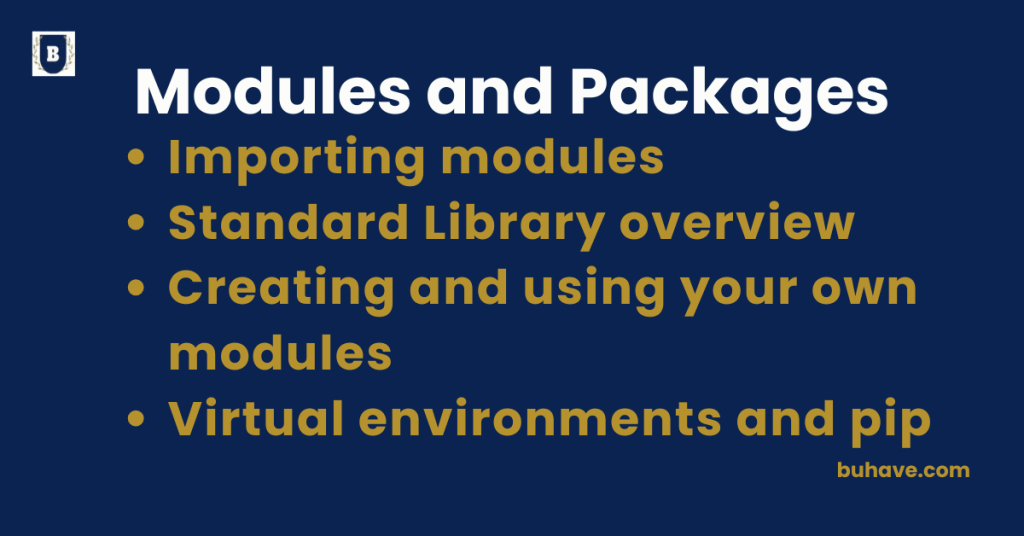
For more on organizing code and dependencies, see Modules and Packages or start with Introduction to Python.
Example:
import requests
response = requests.get(“https://api.github.com”)
print(response.status_code)
print(response.json())
Common Features:
- GET, POST, PUT, DELETE requests
- Timeout, retries, and session management
- Handling JSON, headers, and authentication
2. Pandas – Data Analysis & Manipulation
pandas is a powerful library for working with structured data like CSVs, Excel files, SQL results, or APIs. It introduces two main data types: Series and DataFrame.
Example:
import pandas as pd
df = pd.read_csv(“data.csv”)
print(df.head())
If you’re loading data from files, see our File Handling lesson for working with I/O, formats, and best practices.
Common Features:
- Data filtering, grouping, and aggregation
- Handling missing data
- Merging and reshaping datasets
- Time series and categorical data support
3. Matplotlib – Data Visualization
matplotlib is a plotting library for creating static, animated, and interactive visualizations in Python.
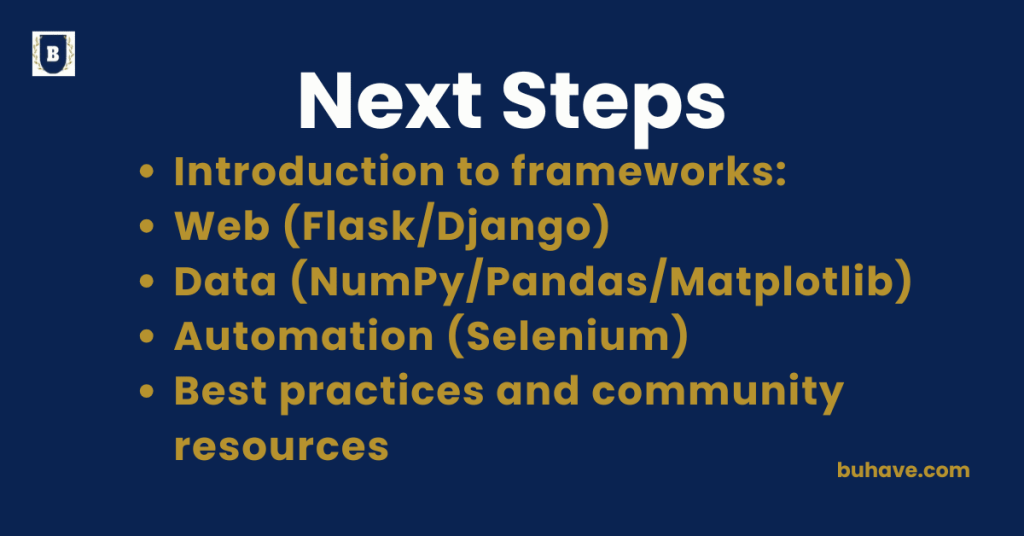
For a quick path from basics to more advanced visuals, see Introduction to Python and Next Steps.
Example:
import matplotlib.pyplot as plt
x = [1, 2, 3, 4]
y = [10, 20, 25, 30]
plt.plot(x, y)
plt.title(“Simple Plot”)
plt.xlabel(“X Axis”)
plt.ylabel(“Y Axis”)
plt.show()
Common Features:
- Line, bar, scatter, pie charts
- Subplots and figure styling
- Exporting plots as images
- Works well with pandas data
4. Numpy – Numerical Computing
numpy provides efficient arrays, mathematical functions, and linear algebra tools, forming the backbone of scientific computing in Python.
Example:
import numpy as np
arr = np.array([1, 2, 3])
print(arr.mean())
As you continue to expand your data workflows, see Next Steps for more advanced topics, or revisit Introduction to Python for fundamentals.
5. Scikit-learn – Machine Learning
A go-to ML library offering tools for data preprocessing, classification, regression, clustering, and model evaluation.
Example:
from sklearn.linear_model import LinearRegression
model = LinearRegression()
model.fit(X_train, y_train)
6. Pytest – Testing Framework
pytest is a robust and scalable testing framework for writing simple to complex unit tests.
Example:
def test_add():
assert 1 + 2 == 3
Summary Table:
| Library | Use Case | Highlights |
|---|---|---|
requests |
HTTP/API requests | Simple syntax, human-friendly API |
pandas |
Data manipulation & analysis | DataFrame structure, powerful data operations |
matplotlib |
Data visualization | Highly customizable, publication-quality plots |
numpy |
Numerical computing | Fast array operations, linear algebra |
scikit-learn |
Machine learning | Prebuilt models, data preprocessing |
pytest |
Testing framework | Fixtures, parameterized tests, rich plugin ecosystem |
Installing packages with pip
Installing Packages with pip – Detailed Guide
pip is Python’s package installer, allowing you to download, install, upgrade, and manage libraries and tools from the Python Package Index (PyPI). It’s a fundamental tool for working with third-party packages in Python.
Basic Usage
Installing a Package
pip install package_name
Example:
pip install requests
This command fetches the package from PyPI and installs it into your current environment.
Installing Specific Versions
You can install a particular version like this:
pip install pandas==1.5.3
Or specify a range:
pip install numpy>=1.21,<1.24
Upgrading a Package
pip install –upgrade matplotlib
Uninstalling a Package
pip uninstall package_name
Viewing Installed Packages
pip list
You can also check outdated packages:
pip list –outdated
Installing from a requirements.txt File
- This file lists all dependencies for a project.
Example content of requirements.txt:
requests==2.31.0
pandas>=1.5
matplotlib
Install everything with:
pip install -r requirements.txt
Installing from a Local File or URL
Install a .whl file:
pip install some_package-1.0-py3-none-any.whl
Install directly from a GitHub repository:
pip install git+https://github.com/psf/requests.git
Notes on Virtual Environments
To avoid conflicts between projects, it’s best to install packages inside a virtual environment:
python -m venv env
source env/bin/activate # On Windows use: env\\Scripts\\activate
pip install flask
For a structured approach to organizing projects and dependencies, see Modules and Packages.
Summary:
| Task | Command Example |
|---|---|
| Install a package | pip install requests |
| Install specific version | pip install pandas==1.5.3 |
| Upgrade package | pip install --upgrade numpy |
| Uninstall package | pip uninstall matplotlib |
| List installed packages | pip list |
| Install from requirements file | pip install -r requirements.txt |
Simple API Consumption Example
Simple API Consumption in Python – Detailed Example Using requests
Consuming an API means making HTTP requests to an external service to fetch or send data. Python’s requests library makes this easy and intuitive. Let’s walk through a complete, beginner-friendly example of calling a public API.
Goal
We’ll use the JSONPlaceholder API, a free fake REST API for testing and prototyping.
Endpoint:
https://jsonplaceholder.typicode.com/posts
Step 1: Install requests (if you haven’t)
pip install requests
Step 2: Make a Simple GET Request
import requests
# Define the endpoint
url = “https://jsonplaceholder.typicode.com/posts”
# Send GET request
response = requests.get(url)
# Check the status
print(“Status Code:”, response.status_code)
# Parse JSON response
data = response.json()
# Show the first post
print(“First Post:”)
print(data[0])
Output Sample
Status Code: 200
First Post:
{‘userId’: 1, ‘id’: 1, ‘title’: ‘…’, ‘body’: ‘…’}
This workflow reinforces patterns you’ll encounter in Introduction to Python.
Step 3: Accessing Specific Data
for post in data[:5]: # Print the first 5 posts
print(f”Post {post[‘id’]}: {post[‘title’]}”)
Step 4: Making a POST Request (Sending Data)
new_post = {
“title”: “ChatGPT is awesome!”,
“body”: “This post was made using the requests library.”,
“userId”: 1
}
response = requests.post(url, json=new_post)
print(“New Post Response:”, response.status_code)
print(“Response Body:”, response.json())
Error Handling (Best Practice)
try:
response = requests.get(url, timeout=5)
response.raise_for_status() # Raises HTTPError for bad status codes
posts = response.json()
except requests.exceptions.RequestException as e:
print(“API request failed:”, e)
Summary:
| Task | Code/Concept |
|---|---|
| Send GET request | response = requests.get('https://api.example.com/data') |
| Parse JSON response | data = response.json() |
| Send POST request | response = requests.post('https://api.example.com/submit', json={'key': 'value'}) |
| Error handling | try: |
| Practice with real APIs | response = requests.get('https://api.example.com/data') |
Simple API Consumption Example (Continued)
Goal
We’ll use the JSONPlaceholder API, a free fake REST API for testing and prototyping.
Endpoint:
https://jsonplaceholder.typicode.com/posts
Step 1: Install requests (if you haven’t)
pip install requests
Step 2: Make a Simple GET Request
import requests
# Define the endpoint
url = “https://jsonplaceholder.typicode.com/posts”
# Send GET request
response = requests.get(url)
# Check the status
print(“Status Code:”, response.status_code)
# Parse JSON response
data = response.json()
# Show the first post
print(“First Post:”)
print(data[0])
Output Sample
Status Code: 200
First Post:
{‘userId’: 1, ‘id’: 1, ‘title’: ‘…’, ‘body’: ‘…’}
This workflow reinforces patterns you’ll encounter in Introduction to Python.
Step 3: Accessing Specific Data
for post in data[:5]: # Print the first 5 posts
print(f”Post {post[‘id’]}: {post[‘title’]}”)
Step 4: Making a POST Request (Sending Data)
new_post = {
“title”: “ChatGPT is awesome!”,
“body”: “This post was made using the requests library.”,
“userId”: 1
}
response = requests.post(url, json=new_post)
print(“New Post Response:”, response.status_code)
print(“Response Body:”, response.json())
Error Handling (Best Practice)
try:
response = requests.get(url, timeout=5)
response.raise_for_status() # Raises HTTPError for bad status codes
posts = response.json()
except requests.exceptions.RequestException as e:
print(“API request failed:”, e)
Summary:
| Task | Code/Concept |
|---|---|
| Send GET request | response = requests.get('https://api.example.com/data') |
| Parse JSON response | data = response.json() |
| Send POST request | response = requests.post('https://api.example.com/submit', json={'key': 'value'}) |
| Error handling | try: |
| Practice with real APIs | response = requests.get('https://jsonplaceholder.typicode.com/posts') |