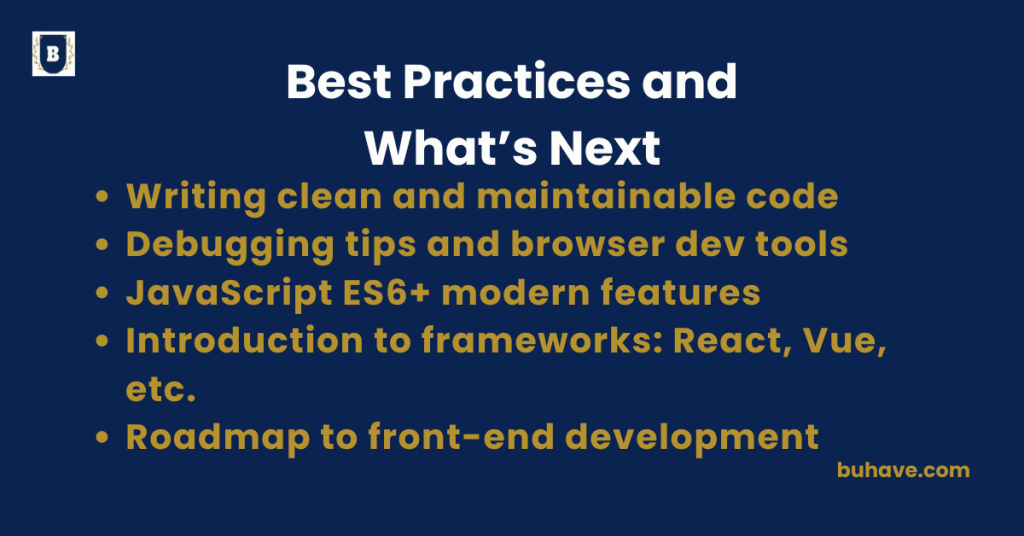
Writing clean and maintainable code
Writing clean and maintainable code remains essential for creating software that is not only functional but also easy to understand, extend, and debug as projects grow. For a broader look at proven design approaches, see Design Principles and Patterns. Here’s a detailed breakdown of how to achieve this:
1. Follow Consistent Naming Conventions
- Variables and Functions: Use descriptive, meaningful names that convey the purpose of the variable or function. For instance, use calculateTotalPrice instead of calc or total.
- Consistency: Stick to a consistent naming style, such as camelCase for variables and functions (calculateTotalPrice) and PascalCase for classes or components (ShoppingCart).
2. Keep Functions Small and Focused
- Single Responsibility Principle (SRP): Functions should do one thing and do it well. If a function is trying to do multiple things, break it up into smaller functions.
- Length: Ideally, a function should fit within a single screen or be no longer than 20-30 lines of code. This keeps them easier to read and maintain.
3. Write Self-Documenting Code
- Clarity Over Comments: Write code that is easy to understand without needing excessive comments. The code itself should describe its purpose.
- Comments Where Necessary: Use comments to explain “why” something is done, not “what” is done. If the code is complex or tricky, explain the reasoning behind it.
4. Organize Code into Modules
- Separation of Concerns: Split your code into smaller, modular pieces. Each module should handle a specific responsibility (e.g., UI components, data manipulation, API calls).
- File Structure: Organize your files logically, grouping related components, utilities, or services together in folders.
5. Use Descriptive and Proper Error Handling
- Error Messages: Provide useful error messages that explain what went wrong and how to fix it.
- Try/Catch Blocks: Use try/catch blocks where errors might occur, and handle the errors gracefully to prevent crashes or undefined behavior.
- Custom Error Types: For complex applications, consider creating custom error classes to give specific feedback about different types of errors.
6. Use Version Control Systems (VCS)
- Git: Use Git for version control to keep track of code changes and collaborate effectively with teammates. Commit early and often with meaningful commit messages.
- Branching: Use branches for new features, bug fixes, or experiments. Merge branches only after they’ve been reviewed and tested.
7. Write Tests
- Unit Tests: Write unit tests for your functions to verify that each component works as expected. This helps to catch bugs early and ensures that future changes don’t break existing functionality. For hands-on practice applying these testing techniques, see Practical Applications and Project.
- Test Coverage: Aim for high test coverage, but prioritize testing critical parts of the application that have a significant impact on the functionality.
8. Maintain Consistent Formatting
- Indentation and Spacing: Consistently use the same indentation style (e.g., 2 or 4 spaces) and avoid mixing tabs and spaces. This makes the code visually clear.
- Code Linters: Use code linters like ESLint to automatically enforce consistent formatting and style rules across your project.
- Automated Formatting: Tools like Prettier can automatically format code before committing, ensuring consistency.
9. Avoid Code Duplication
- DRY Principle (Don’t Repeat Yourself): Duplicate code is harder to maintain and prone to bugs. If you notice code repeating in multiple places, refactor it into a reusable function or class.
- Refactor Often: Regularly review and refactor your code to remove duplication, improve performance, and ensure clarity.
10. Follow Design Patterns
- Common Patterns: Learn and apply common design patterns such as Singleton, Factory, Observer, and MVC. These patterns provide proven solutions to common problems and help keep code organized.
- Consistency in Usage: Once you adopt a design pattern, use it consistently across the project to avoid confusion and ensure uniformity in code structure.
11. Keep Dependencies and Libraries to a Minimum
- Lightweight: Avoid bloating your code with unnecessary libraries or dependencies. Only include libraries that solve specific problems you can’t handle with plain JavaScript or minimal code.
- Regular Updates: Ensure that your dependencies are updated regularly to avoid security vulnerabilities and take advantage of new features or improvements.
12. Use Linters and Static Analysis Tools
- Code Quality: Tools like ESLint (for JavaScript) or Pylint (for Python) automatically check your code for potential errors, code smells, and style violations.
- Code Formatting: Tools like Prettier automatically format your code to maintain consistency in spacing, indentation, and line breaks.
13. Practice Continuous Integration (CI)
- Automated Testing: Set up CI tools like Jenkins, Travis CI, or GitHub Actions to automatically run your tests on every commit or pull request.
- Code Review: Implement a code review process before merging pull requests, ensuring that multiple eyes look at the code for potential issues.
14. Keep Code Simple and Avoid Over-Engineering
- YAGNI (You Aren’t Gonna Need It): Don’t over-engineer solutions for problems that don’t exist yet. Keep things simple and solve problems as they arise.
- KISS (Keep It Simple, Stupid): Favor simple solutions over complex ones unless complexity is absolutely required.
15. Document Key Concepts and APIs
- API Documentation: If you’re building an API or a library, write clear documentation on how to use it, including function parameters, return values, and examples.
- Readme Files: For open-source or team projects, maintain a clear README.md file that explains how to set up and contribute to the project.
Conclusion:
Writing clean and maintainable code is a mindset and a practice that makes your software more reliable, extensible, and easier to work with in the long run. As projects evolve, leveraging modern tooling and best practices becomes essential; for a deeper dive into industry-aligned guidelines, see Best Practices and Optimization. By following principles like consistency, modularity, simplicity, and good documentation, you ensure that your code will be easier to maintain and scale over time, whether you’re working solo or as part of a team.
Debugging tips and browser dev tools
Debugging is an essential skill for developers, and leveraging browser developer tools is one of the best ways to identify, fix, and optimize issues in your code. Here’s a detailed guide on debugging tips and how to make the most out of browser developer tools.
General Debugging Tips
1. Use console.log()
- Purpose: Insert console.log() statements to check the flow of execution and the values of variables.
- Example:
Console.log(“Value of x:”, x);
- Advanced Use: Use console.table() for displaying arrays or objects in a table format for better readability.
2. Check Error Messages Carefully
- Look for Error Logs: Always check the browser’s developer console for error messages. These usually tell you the file, line number, and sometimes even the type of error (SyntaxError, ReferenceError, etc.).
- Stack Trace: The stack trace will show the function calls that led to the error. This is incredibly helpful to pinpoint exactly where things went wrong.
3. Isolate the Issue
- Narrow Down: If the issue is complex, try to isolate the problem by commenting out parts of your code. Gradually add them back to see when the problem occurs.
- Use a Debugging Process: Divide the problem into smaller pieces. If you know the problem is in a certain function, focus on that first before looking at the bigger picture.
4. Check for Typos
- Variable Names: A common cause of bugs is typos in variable or function names. JavaScript is case-sensitive, so make sure you’re using the exact variable names.
- String Matching: Ensure you’re comparing strings correctly (e.g., trimming whitespace, handling different cases).
5. Test with Different Data
- Edge Cases: Try testing your code with different types of input (empty strings, null values, undefined, large numbers) to see how it behaves under various conditions.
6. Use Assertions
- console.assert(): This function allows you to test assumptions in your code. If the condition is false, an error will be logged.
Example:
console.assert(x > 0, “X must be greater than zero”);
7. Break Down Complex Functions
- Refactor Long Functions: If a function is long or has too many nested loops, break it into smaller, more manageable pieces. This makes debugging easier.
- Use Early Returns: Avoid deeply nested conditions and use early returns to simplify code.
8. Use Source Maps for Minified Code
- Source Maps: When debugging minified or compiled code, make sure you use source maps so that the debugger can map the minified code back to your original source code for easier debugging.
9. Reproduce the Bug in Isolation
- Minimal Example: If possible, create a minimal, isolated example that reproduces the issue. This can help identify whether the issue is with your code or with external factors like the browser or library versions.
Using Browser Developer Tools for Debugging
1. Open the Developer Tools
- Shortcut: Most modern browsers open dev tools with F12 or Ctrl + Shift + I (Windows/Linux) or Cmd + Option + I (Mac).
- Tabs: The main sections of the Developer Tools include Elements, Console, Sources, Network, Performance, Memory, Application, Security, and Lighthouse.
2. Console Tab
- Logging: View logs, warnings, and errors here.
- Interactive Shell: You can execute JavaScript commands directly in the console.
- For example, try accessing variables or running functions from your page context.
- console.log() Levels: Different logging levels (log(), warn(), error(), info(), etc.) help you categorize and filter logs.
- Stack Traces: When an error occurs, the console usually provides a stack trace. Click on the stack trace to go to the relevant file and line number.
- Clear Console: Use the trash icon to clear all logs or filter logs by severity.
3. Elements Tab (DOM Inspection)
- Inspect DOM: The Elements tab allows you to view and edit the DOM and CSS of the page in real-time. You can modify HTML and CSS to test changes without reloading the page.
- Live Edits: If you modify a style in the Styles pane, it will immediately reflect on the webpage.
- Event Listeners: You can view and remove event listeners attached to DOM elements by expanding the Event Listeners section on the right.
4. Sources Tab (JavaScript Debugging)
- Breakpoints: Set breakpoints to pause execution of your code at a specific line. This allows you to inspect variable values and control flow step-by-step.
- Debugger: The debugger lets you step through your code line by line. You can also inspect the current call stack, local variables, and scope.
- Watch Expressions: Add specific expressions to watch during debugging to monitor their values as you step through the code.
- Call Stack: View the sequence of function calls that led to the current line of execution.
- Step Through Code: Use options like Step Over, Step Into, and Step Out to navigate through your code when paused at a breakpoint.
5. Network Tab (Monitoring Requests)
- XHR/AJAX Requests: View all network requests made by your app, including API calls and resource loading.
- Inspect Responses: You can inspect the headers and response data for each network request. This is crucial for debugging issues related to API calls.
- Throttling: Simulate different network conditions (e.g., slow 3G) to see how your app behaves under those conditions.
- Performance Monitoring: You can check how long it takes for each resource to load and identify bottlenecks.
6. Performance Tab (Performance Analysis)
- Record Performance: Use the Performance tab to record and analyze the performance of your application as it runs. You can capture events like frame rates, layout shifts, and long-running scripts.
- Visualize Bottlenecks: Analyze slow code, excessive reflows, and layout issues using the flame graph and other visual aids.
7. Memory Tab (Memory Management)
- Heap Snapshot: Take a snapshot of memory usage and find out which objects are taking up memory.
- Garbage Collection: View how memory is being used and identify any potential memory leaks.
- Allocation Timeline: Analyze memory allocations over time to identify unnecessary memory use.
8. Application Tab (Web Storage & Service Workers)
- LocalStorage/SessionStorage: View and manipulate data stored in the browser’s local or session stor